Sometimes I need to upgrade or downgrade a virtual machine in Azure — maybe to get more CPU, RAM, or premium disk support. Instead of rebuilding from scratch, I just resize the VM by changing its SKU.
Here’s exactly how I do it safely, step-by-step.
✅ When Do I Resize a VM?
I usually resize when:
- The current VM is underpowered (CPU/memory bottleneck)
- I need premium SSD support (not all sizes allow it)
- A lower tier is enough and I want to save costs
- I’m preparing for scaling tests
But before resizing, I always check if the target VM size is available in the same region and supports existing resources (like accelerated networking, disk type, etc.).
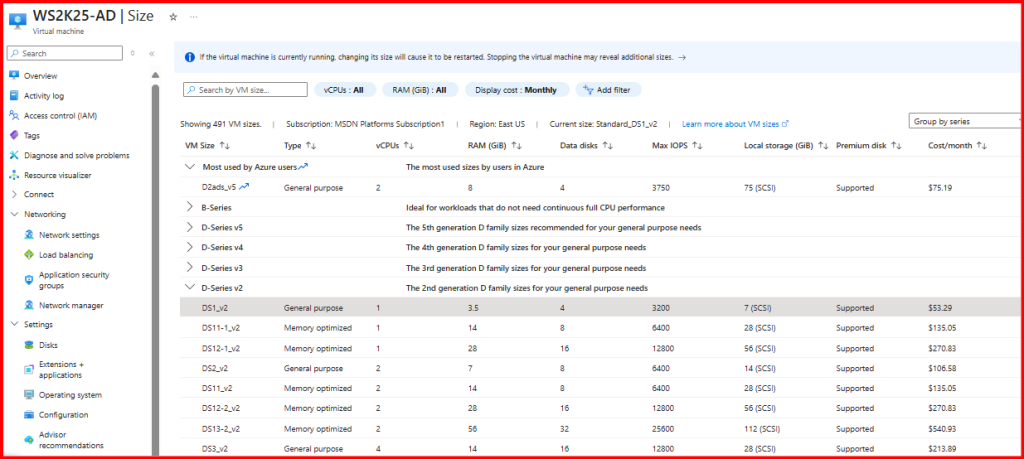
🔍 Step 1: Check Available Sizes in Your Region
In the Azure Portal:
- Go to your VM → Size
- It lists only compatible sizes for your VM in that region
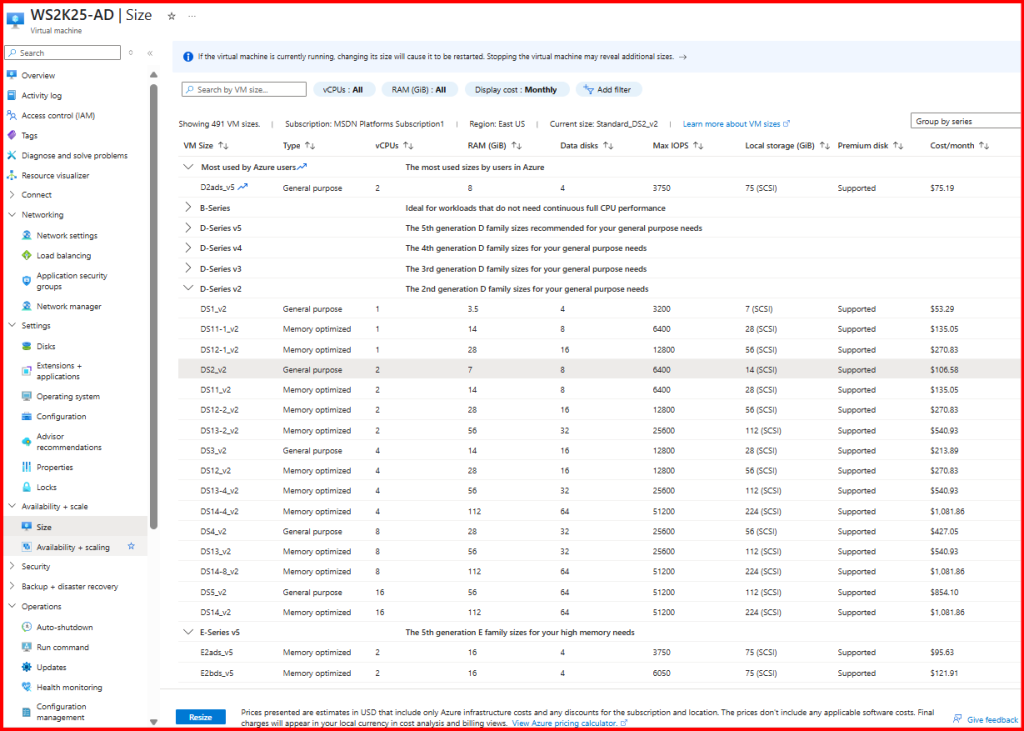
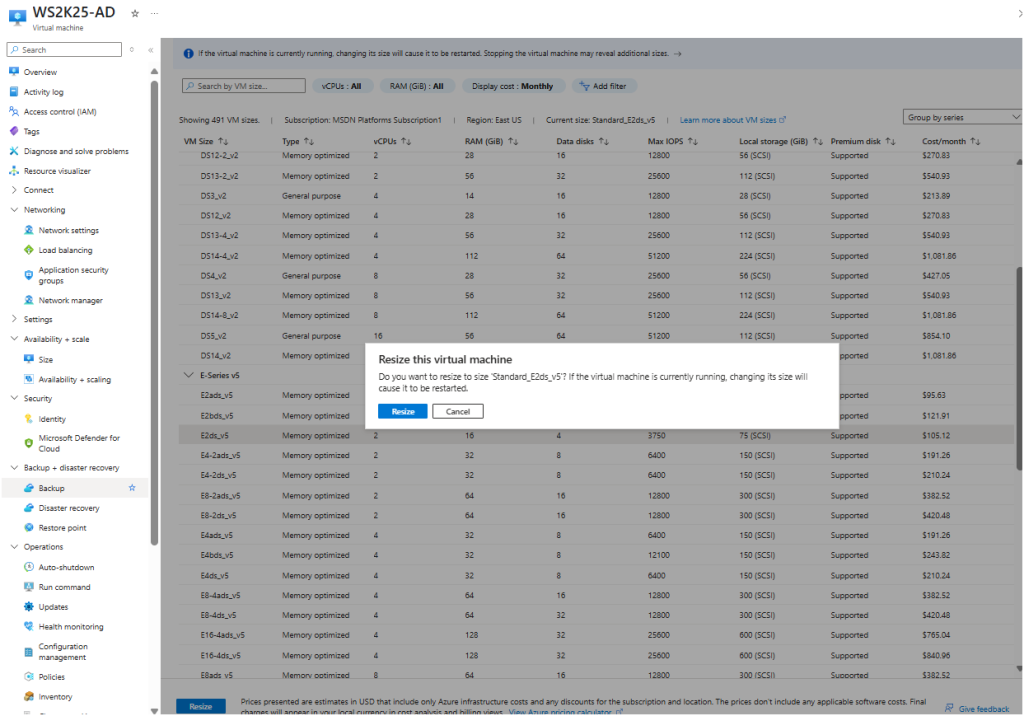
🛠 Step 2: Resize the VM via Portal
- Stop the VM (recommended but optional for Portal)
- In the VM blade, click Size
- Select the new size (e.g., from
Standard DS1_v2toStandard DS2_v2 - Click Resize
💡 Portal won’t allow incompatible changes — only valid sizes will be shown.

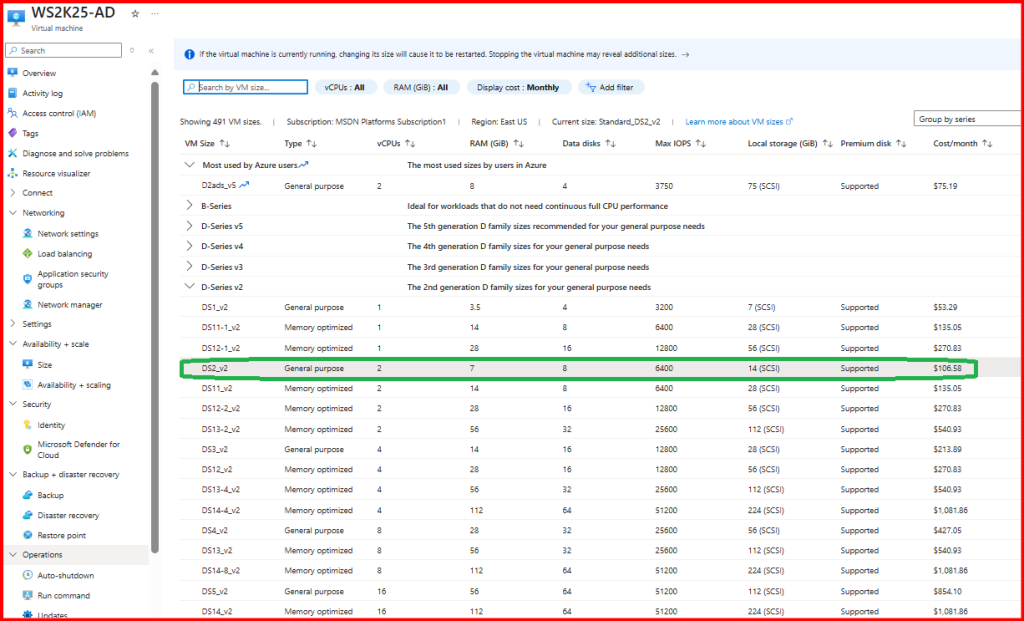
Resized VM successfully.
📌 Notes & Warnings
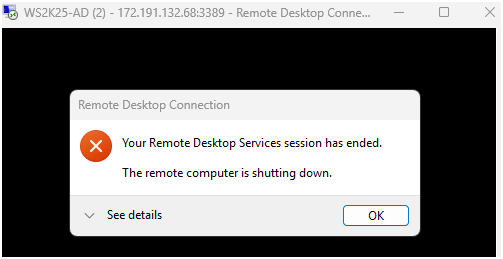
- VM will reboot during resize (even if you scale up/down within the same series)
- Make sure the target size supports your attached disks (e.g., Premium SSD)
- If the new size isn’t available in your zone, you’ll need to:
- Deallocate the VM
- Resize it
- Then start it again
Try with E-series v5, VM Resize.
Done!
🧠 Final Thoughts
Resizing an Azure VM is simple, but I never treat it casually. I always check the size compatibility, backup the VM, and make sure I understand the impact of a reboot. If I’m moving to a different VM series or enabling a new feature (like GPU or premium storage), I also check if the OS and attached disks are supported.
In short, Azure makes it easy — but a little planning avoids big surprises.