🛠️ Installing & Configuring WSUS on Windows Server 2025
Step‑by‑step installation via Server Manager and PowerShell, plus database (WID) and storage setup
In our first post, we covered what WSUS is, why it still matters in 2025, and when to use it. Now it’s time to roll up our sleeves and get it running on Windows Server 2025.
This guide provides two installation paths — the graphical Server Manager method and the faster PowerShell approach — so you can choose what fits your workflow. We’ll also cover database selection (with a strong recommendation for Microsoft WID), storage planning, and the essential post‑installation configuration steps.
Before You Begin: Prerequisites
Ensure your Windows Server 2025 meets these minimum requirements:
- Windows Server 2025 (Standard or Datacenter) — fully updated.
- Administrative privileges — you need local admin rights on the server.
- Internet connectivity — to sync updates from Microsoft Update (or an upstream WSUS server).
- Firewall ports — open TCP 8530 (and optionally 8531 for SSL) for client communication.
- Dedicated storage — at least 50–100 GB for update content (recommended on a separate drive).
- .NET Framework 4.8 — usually installed by default on Server 2025.
E:\WSUS-UPDATE\) prevents your system drive from filling up and simplifies maintenance.
Method 1: Install WSUS via Server Manager (GUI)
The graphical approach is great if you prefer a visual workflow or are setting up WSUS in a lab environment. Follow these steps:
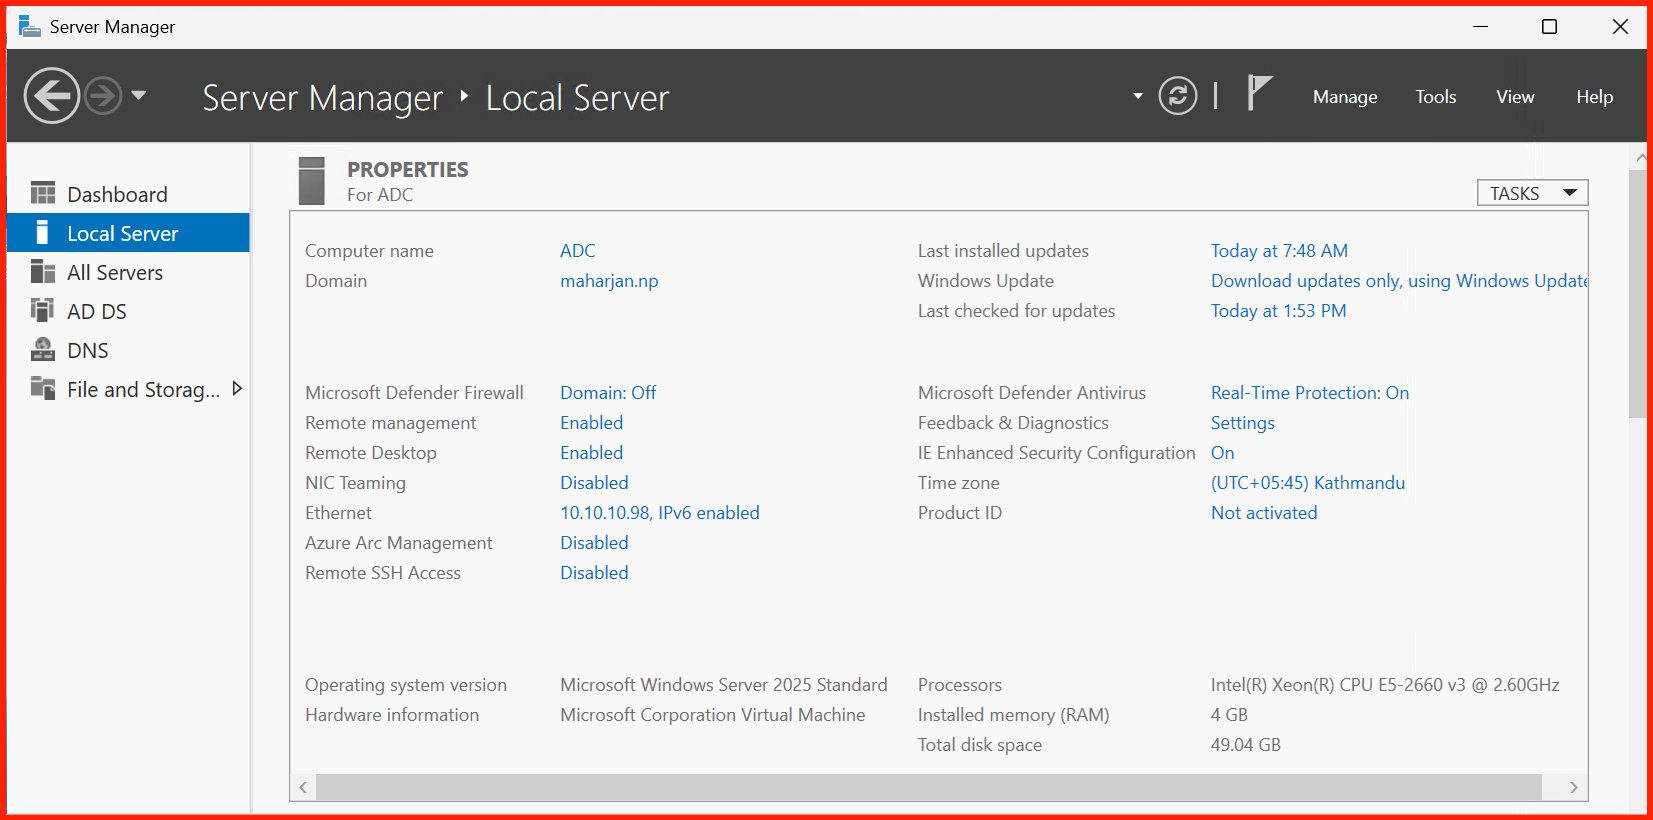
Launch Server Manager & Start the Add Roles Wizard
Open Server Manager (it should launch automatically on login, or search for it in the Start menu). Click on Manage → Add Roles and Features.
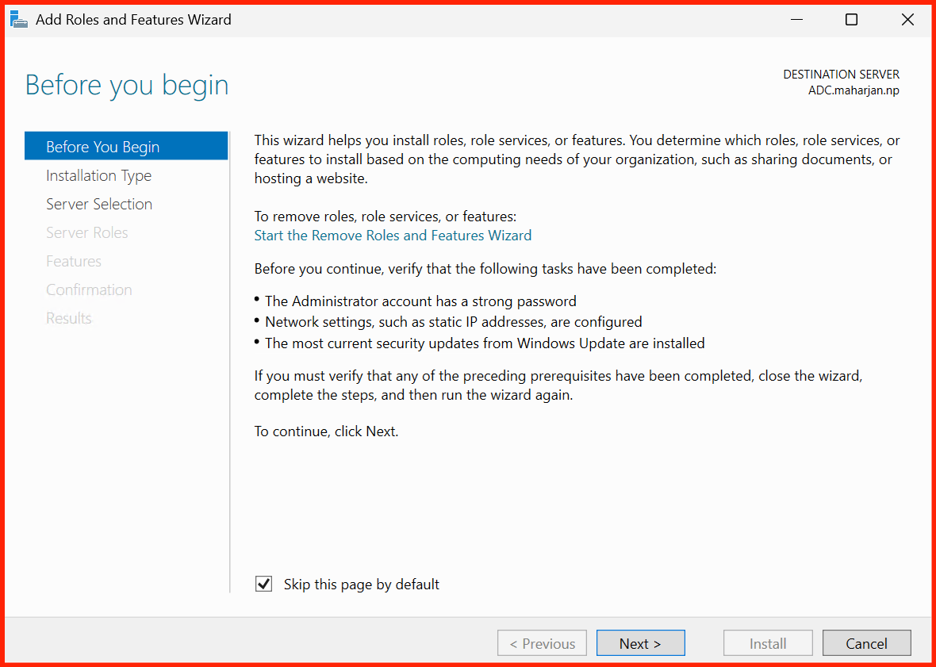
Select Role‑Based Installation
Choose Role‑based or feature‑based installation, then select your server from the server pool. Click Next.
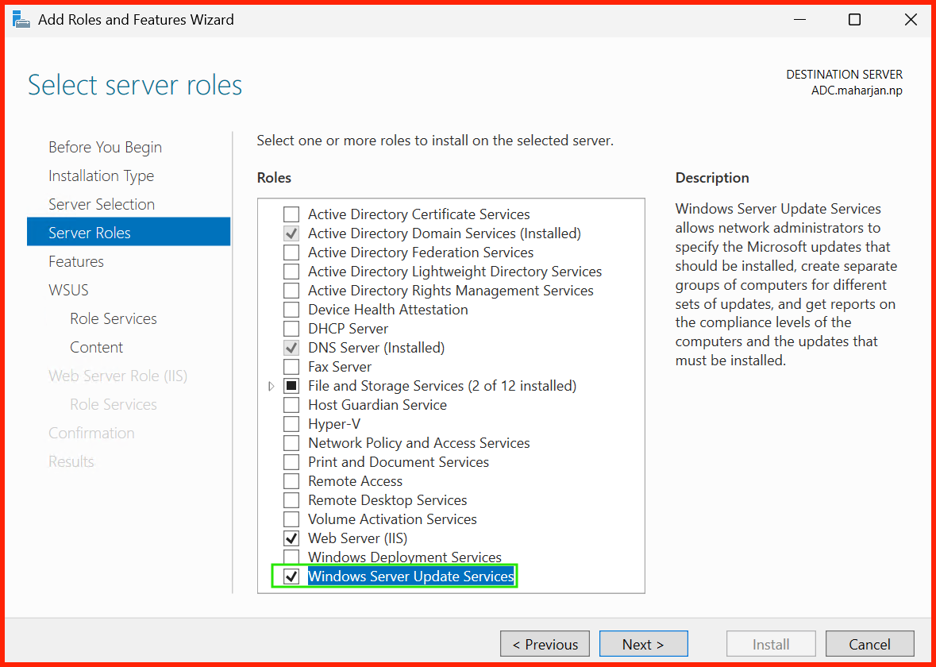
Select the WSUS Server Role
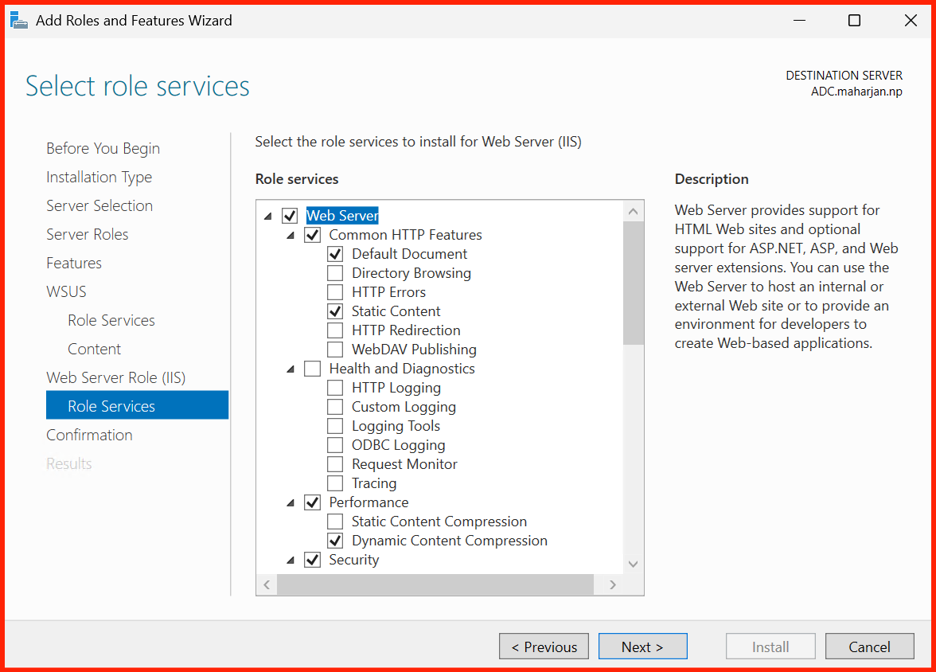
In the Server Roles list, scroll down and check Windows Server Update Services. A pop‑up will ask you to add required features — click Add Features, then Next.
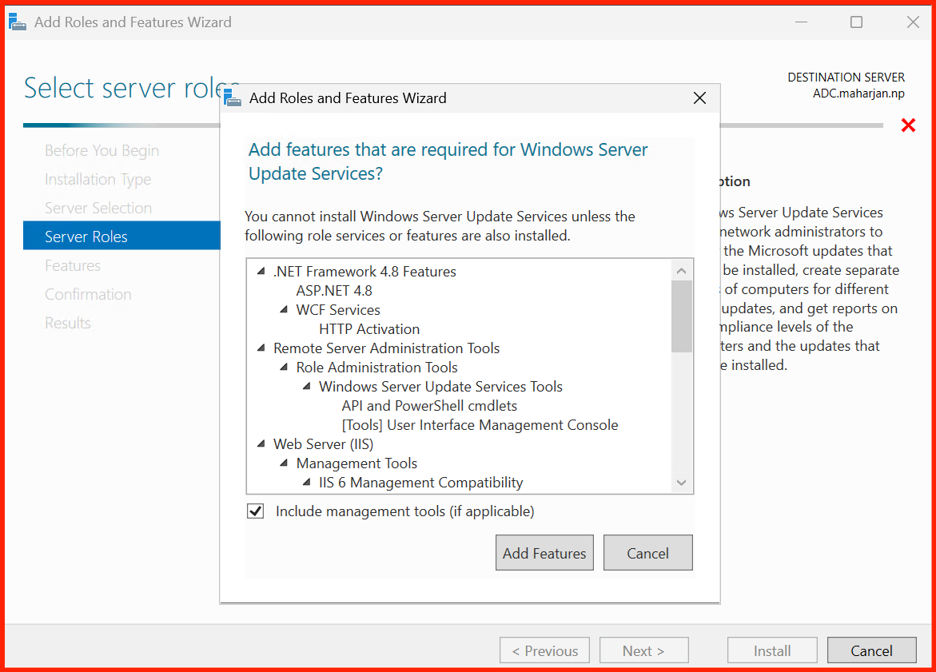
Add Required Features (WID / Database Options)
The wizard will prompt you to install WID (Windows Internal Database) and the WSUS Management Console. Keep the default selections and click Next.
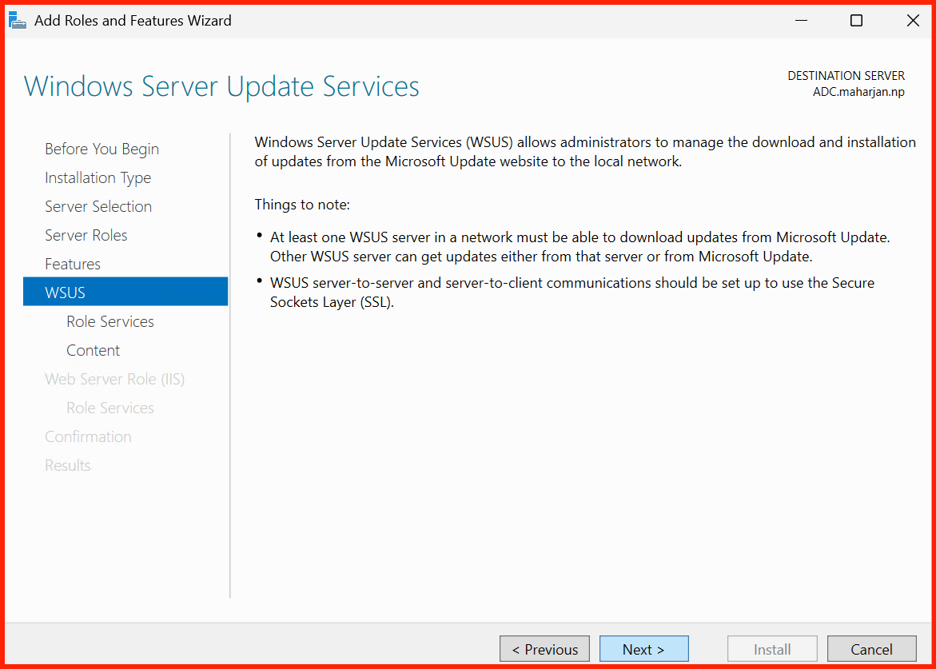
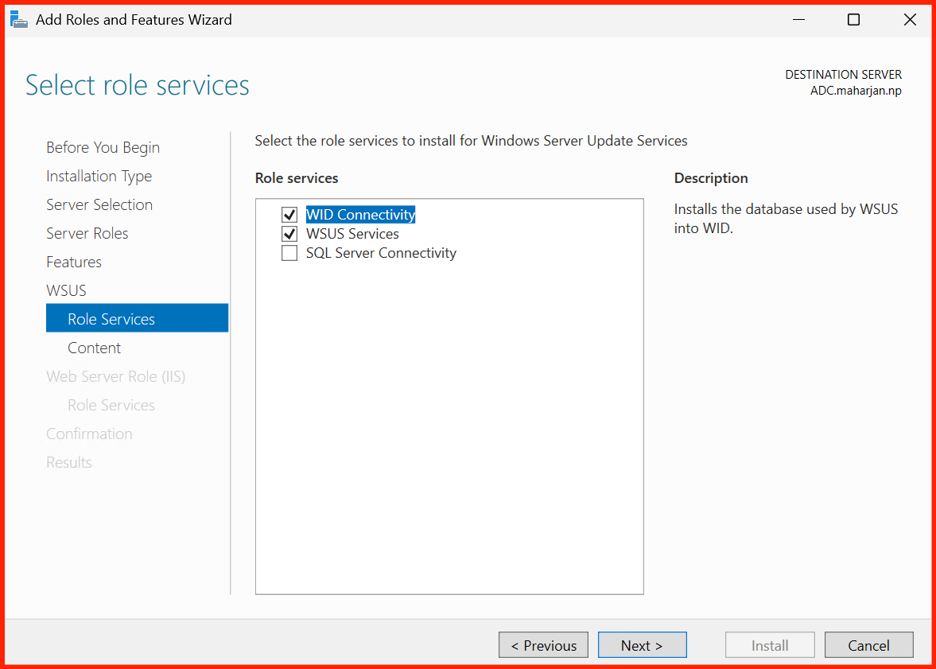
Complete the Wizard & Install
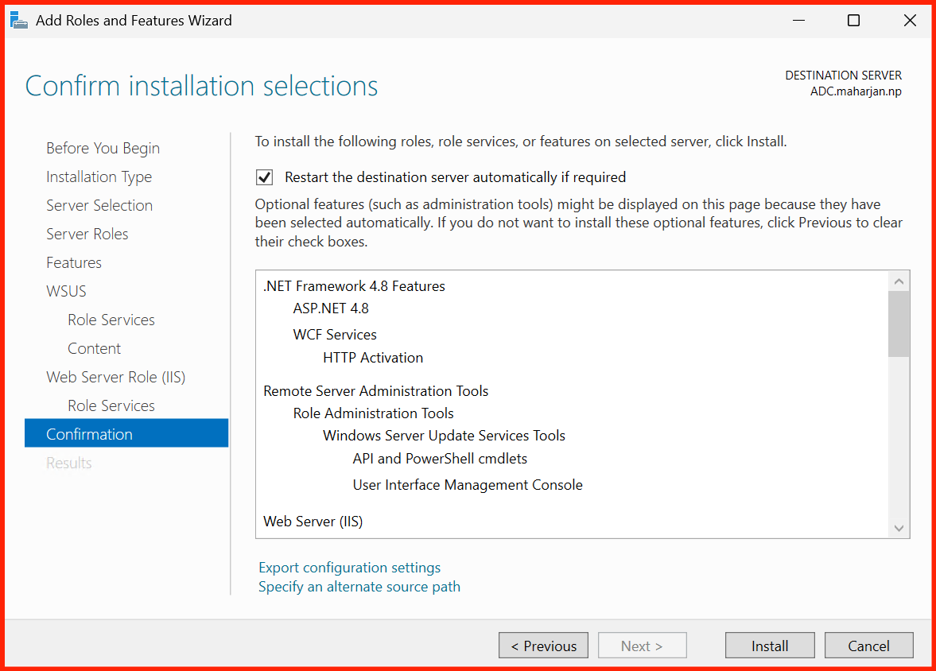
Click through the remaining screens (accept the defaults). On the Confirmation page, check Restart the destination server automatically if required (optional), then click Install.
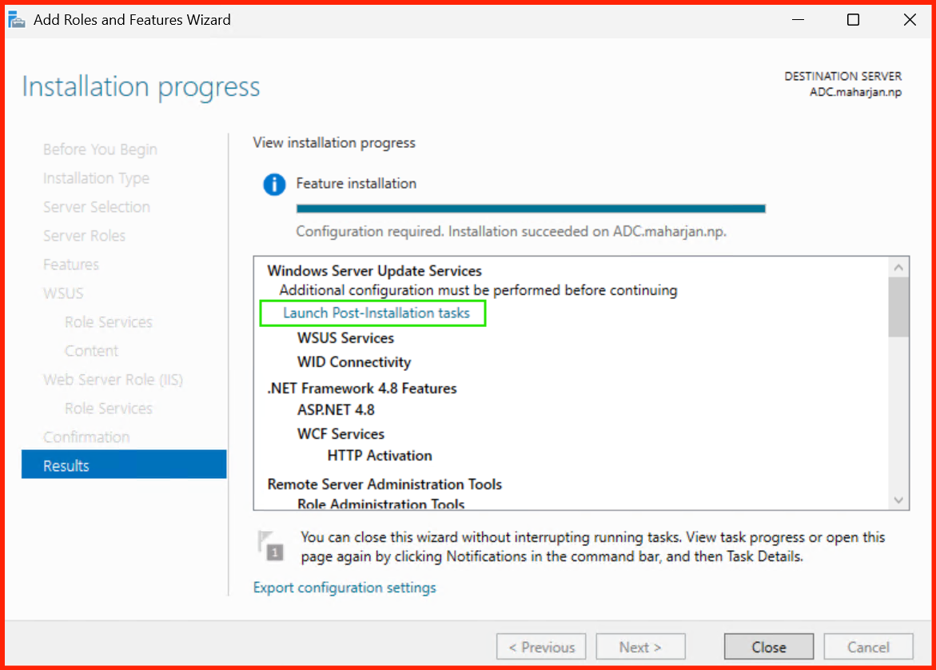
The installation will take a few minutes. Once complete, click Close.
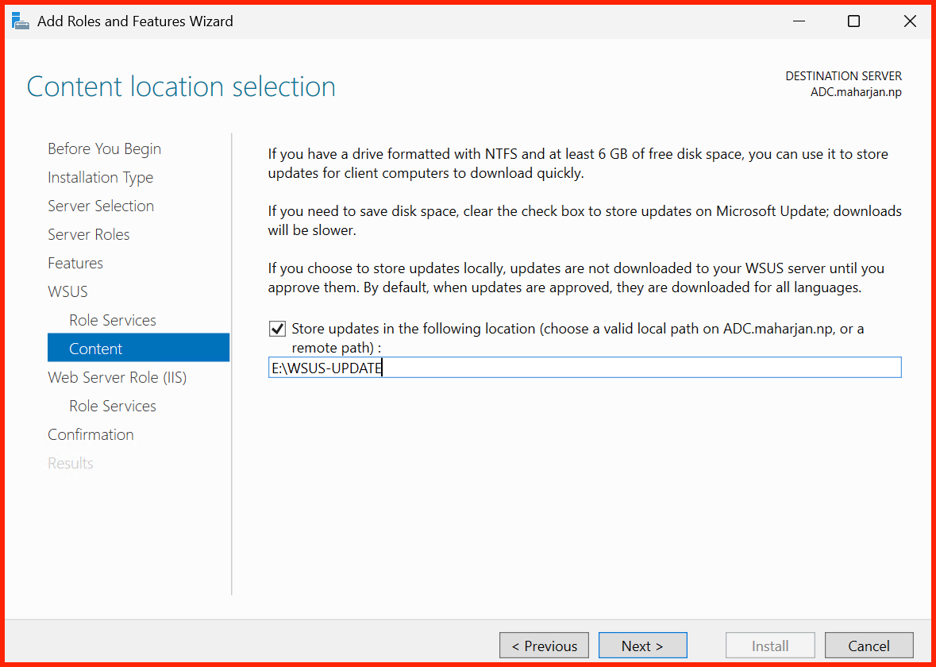
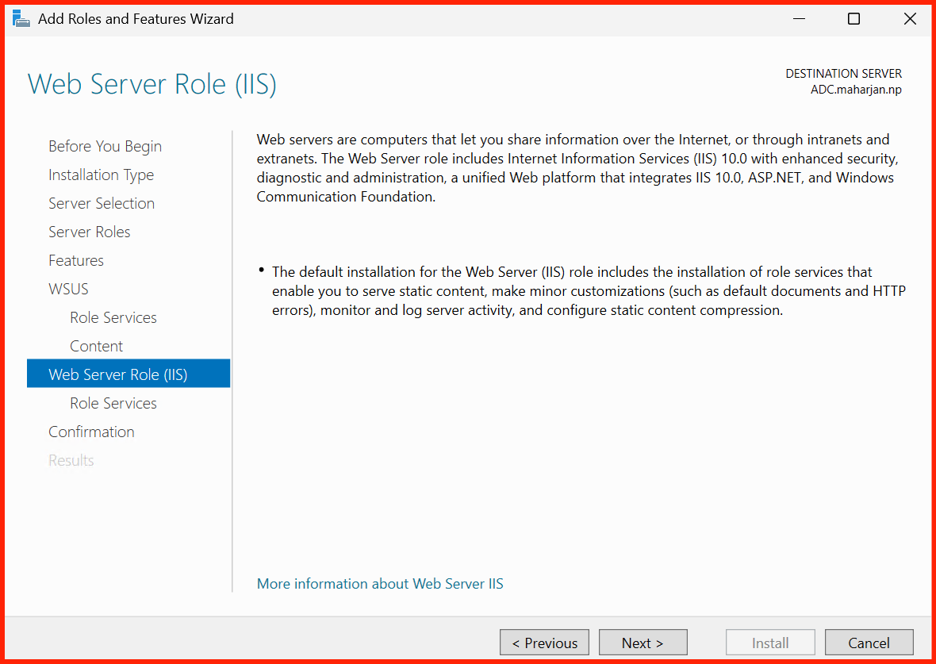
Method 2: Install WSUS via PowerShell (Faster)
For automation or headless servers, PowerShell is the quickest way. Open an elevated PowerShell console (Run as Administrator) and run:
Install-WindowsFeature -Name UpdateServices -IncludeManagementToolsThis single command installs the WSUS role, management console, and all required dependencies (including WID).
Post‑Installation: Database & Storage Configuration
After the role is installed, you must complete the initial configuration using either:
- The WSUS Post‑Installation Configuration wizard (GUI), or
- The command‑line tool
wsusutil.exe.
Option A: Using the WSUS Configuration Wizard (GUI)
In Server Manager, click the Notifications flag icon (top‑right) and select “Perform post‑installation tasks”.
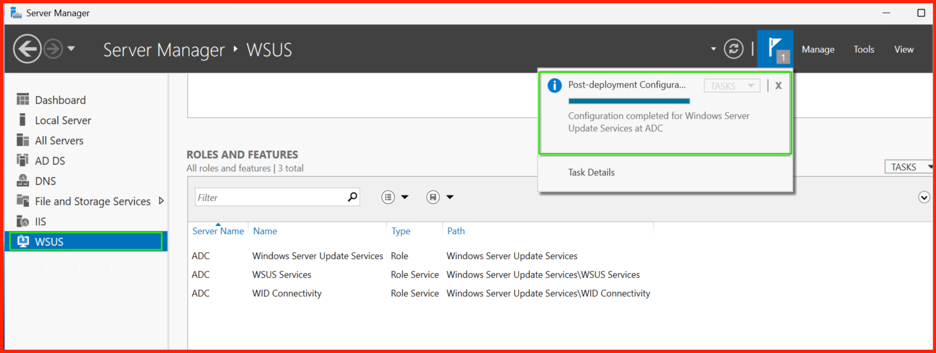
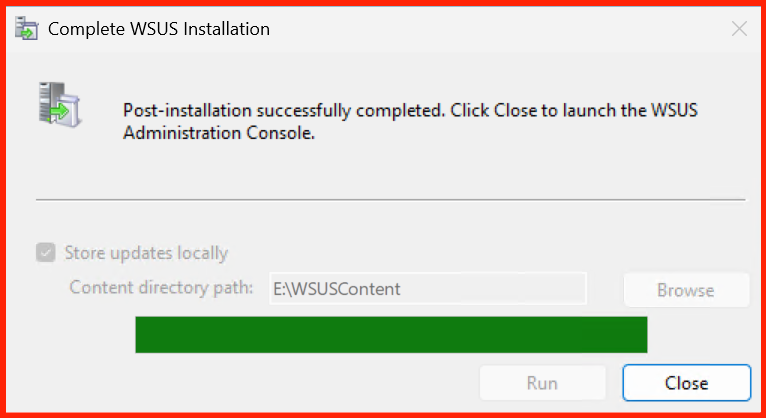
The wizard will guide you through:
- Choosing the database (WID is already selected).
- Setting the content storage path (e.g.,
E:\WSUSContent). - Connecting to Microsoft Update to synchronize initial product and classification lists.
Option B: Using wsusutil.exe (Command Line)
For greater control, use the command‑line tool located at:
C:\Program Files\Update Services\Tools\wsusutil.exe
Run the following command to set the content directory to a separate drive (replace E:\WSUSContent
with your preferred path):
wsusutil.exe postinstall /content_local:E:\WSUSContent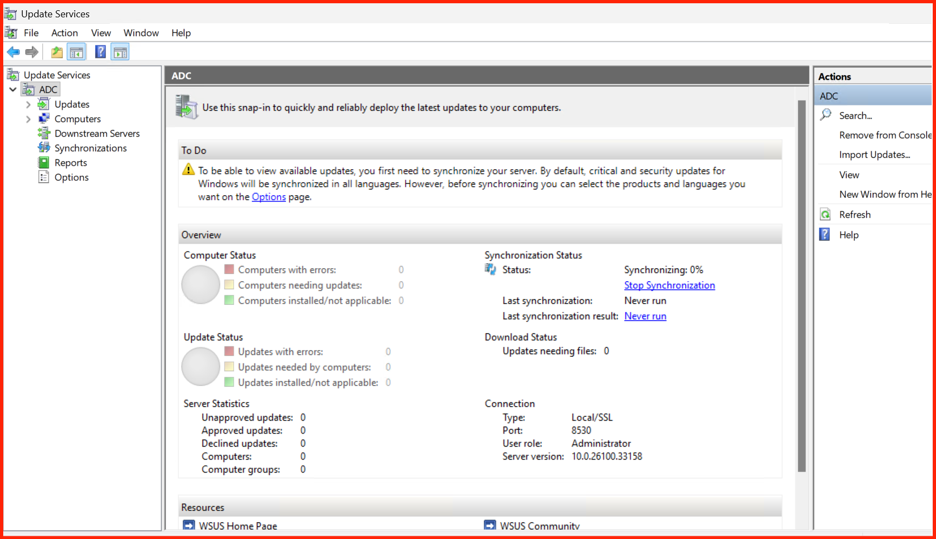
Initial Synchronization & Basic Configuration
With the database and storage configured, open the WSUS Administration Console (via Server Manager → Tools → Windows Server Update Services).
Connect to your WSUS server, and you’ll be prompted to run the Configure Synchronization wizard. Key steps:
- Upstream Server: Choose “Synchronize from Microsoft Update” (or an upstream WSUS server if in a replica hierarchy).
- Products: Select only the products you actually need (e.g., Windows Server 2025, Windows 11, etc.) to reduce database size.
- Classifications: Start with “Critical Updates” and “Security Updates” — you can add more later.
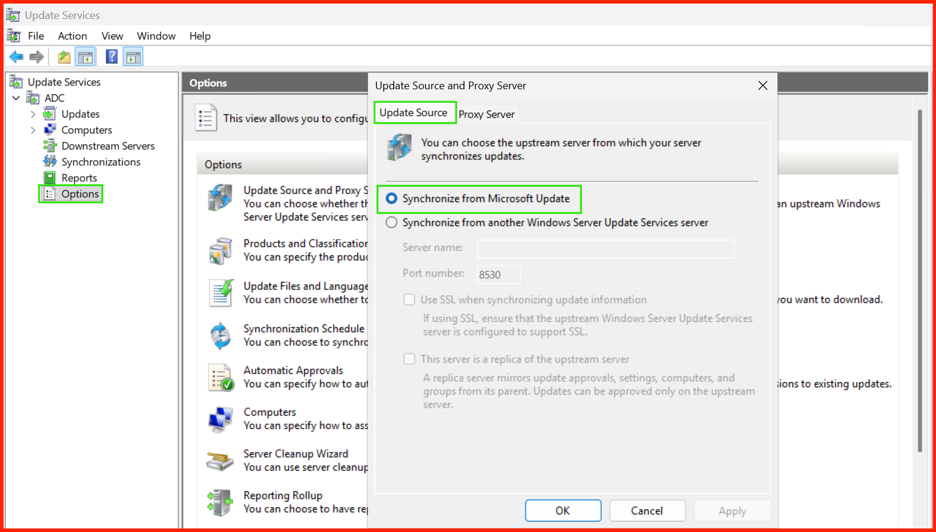
Click Start Synchronization. The first sync can take 30–60 minutes depending on your selections and internet speed. Once complete, you’ll see the update catalog ready for approvals.
Verification: Is WSUS Working?
After the initial sync, check the following to confirm a healthy setup:
- WSUS Console: The “Updates” node shows a list of available updates.
- Computers tab may be empty (clients haven’t reported in yet — that’s normal).
- Content folder: Navigate to your content directory (e.g.,
E:\WSUSContent) — you should see subfolders containing downloaded update binaries.

📋 Installation Checklist
- ✅ Windows Server 2025 meets prerequisites.
- ✅ WSUS role installed (Server Manager or PowerShell).
- ✅ WID database configured (default).
- ✅ Content storage set to a dedicated volume (not C:\).
- ✅ Initial synchronization completed with the right products/classifications.
- ✅ WSUS console accessible and update catalog populated.
➡️ What’s Next?
With WSUS installed and synced, the next post will cover Configuring Group Policy for WSUS Clients
— getting your domain‑joined devices to point to this server and receive updates.