Email remains the number one vector for corporate data exfiltration. Whether intentional or accidental, a simple typo in the “To” field can push highly sensitive corporate assets into the wrong hands.
Let’s look at a concrete use case and step completely through how to build, deploy, and test an Exchange-focused DLP policy under an M365 E5 license.
The Use Case Scenario: The Accidental QBR Leak
- The Threat: A Sales Operations Manager wants to send a draft of the upcoming Quarterly Business Review (QBR) presentation to their personal email address to review on their home computer.
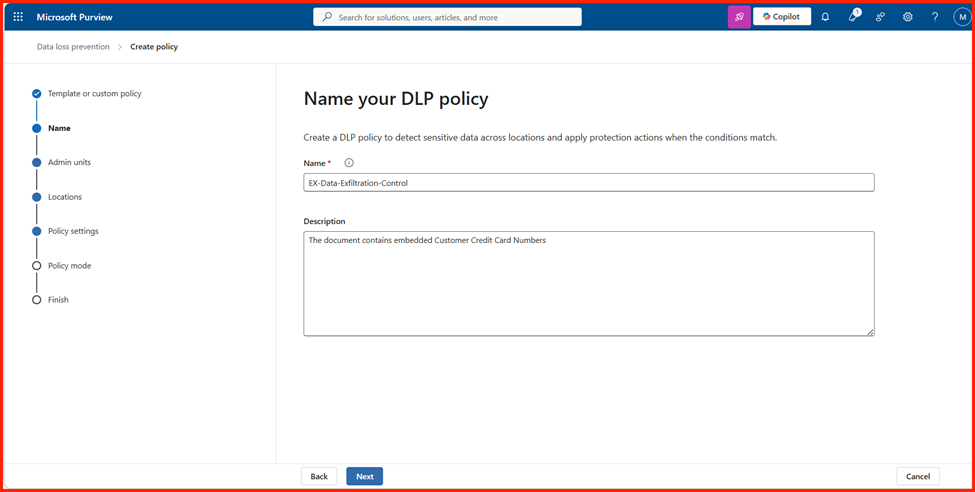
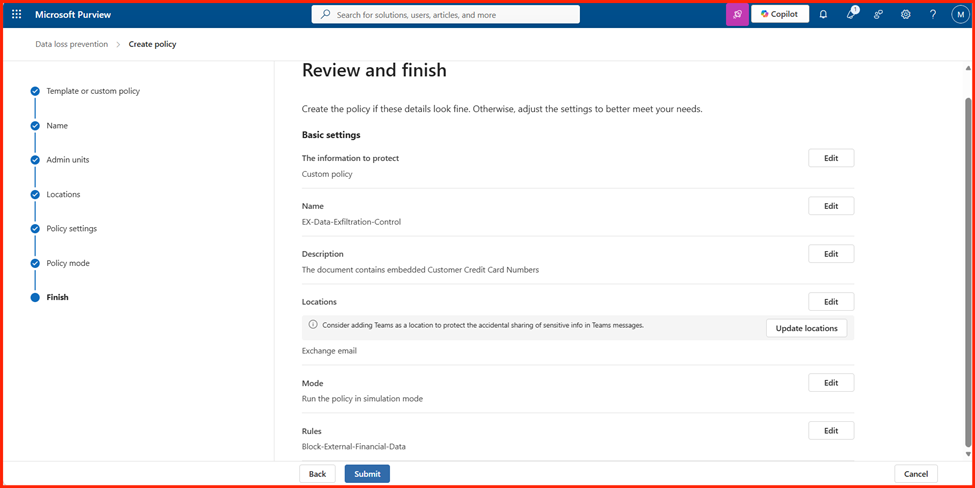
- The Data: The document contains embedded Customer Credit Card Numbers and internal financial tables marked with the “Highly Confidential” sensitivity label.
- The Goal: Intercept the email the moment it hits the transport pipeline, completely block it from leaving the organization, display an educational warning to the sender, and log a high-severity event for the security team.
Step-by-Step Implementation
To avoid configuration overlap, we will design an advanced, dedicated rule targeted exclusively at Exchange.
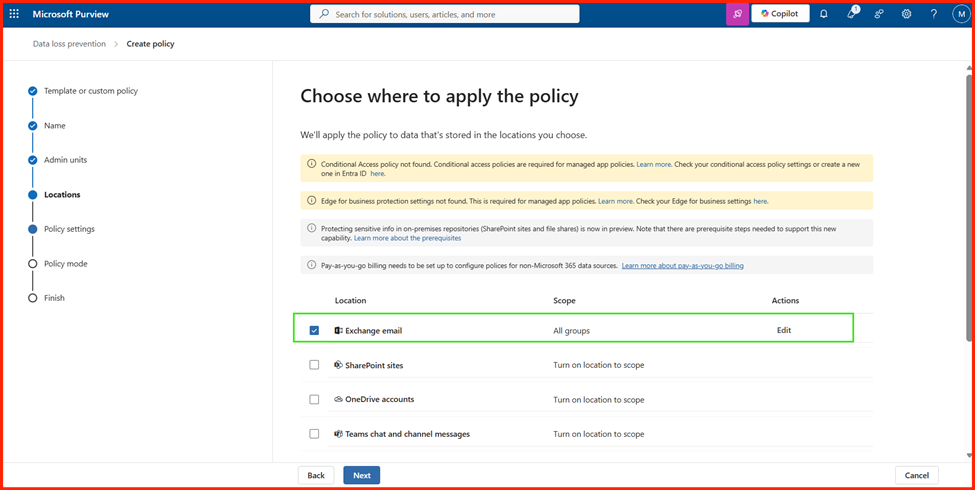
1. Scoping the Policy
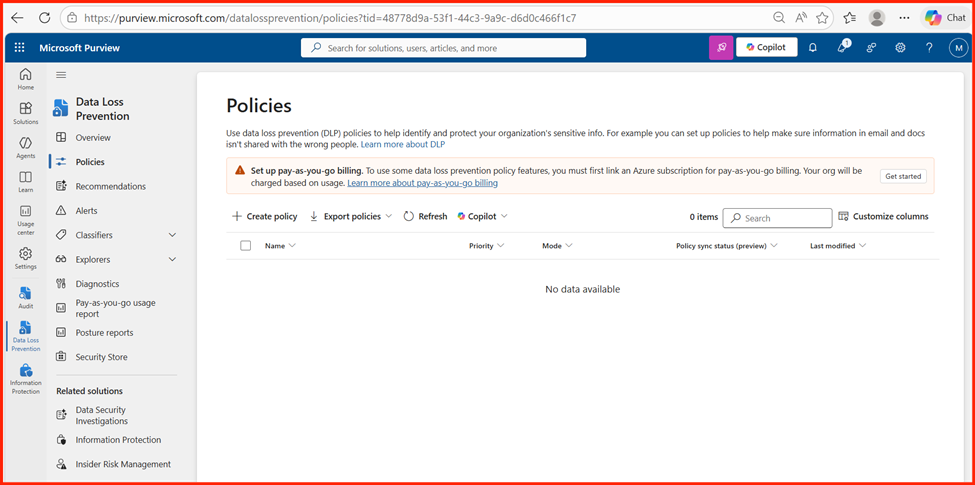
- Navigate to the Microsoft Purview portal (
purview.microsoft.com) and log in using an account with Compliance Administrator or Security Administrator privileges. - Go to Solutions > Data Loss Prevention > Policies and select + Create policy.
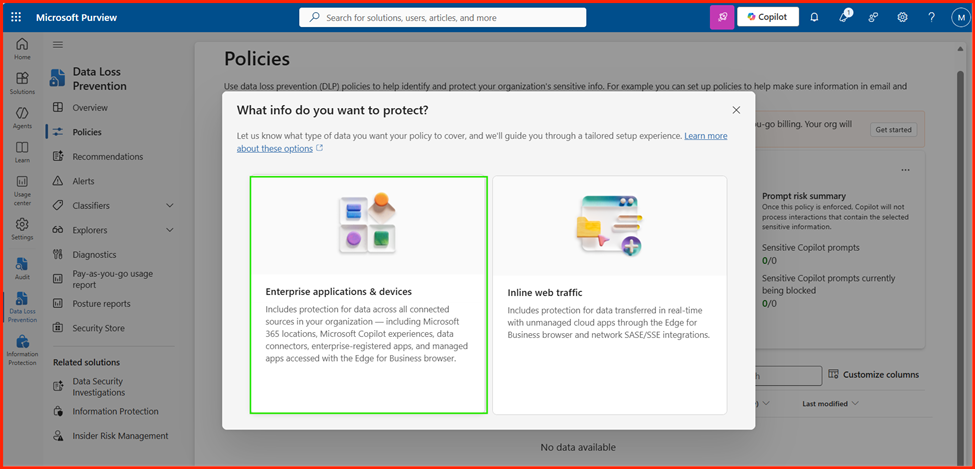
- Choose Custom > Custom policy and click Next.
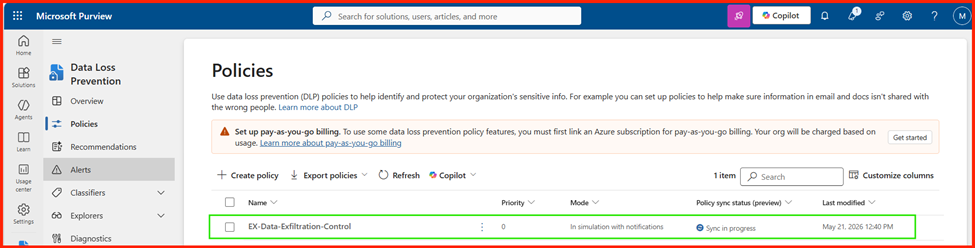
- Name the policy
EX-Data-Exfiltration-Controland provide a clear description. - On the Locations page, toggle Exchange email to On. Turn all other locations Off to ensure this rule remains highly tuned for email transport.
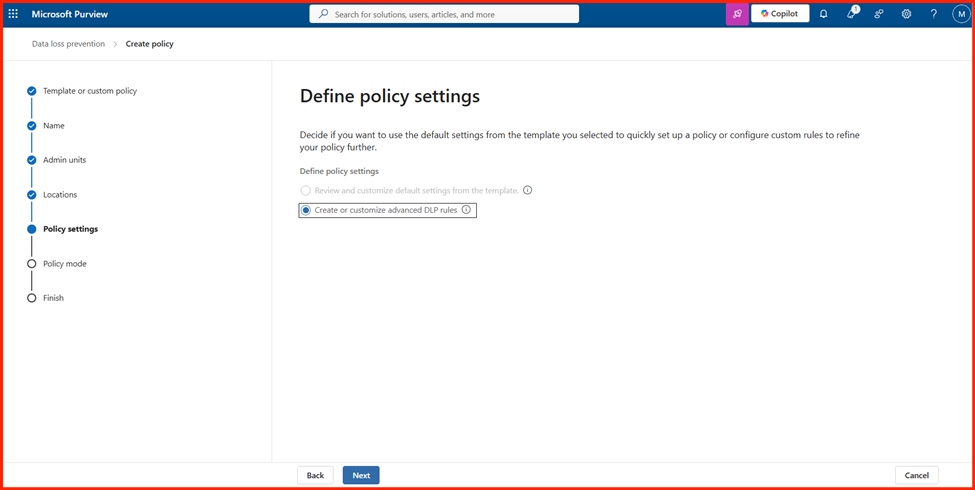

2. Crafting the Advanced Rule Logic
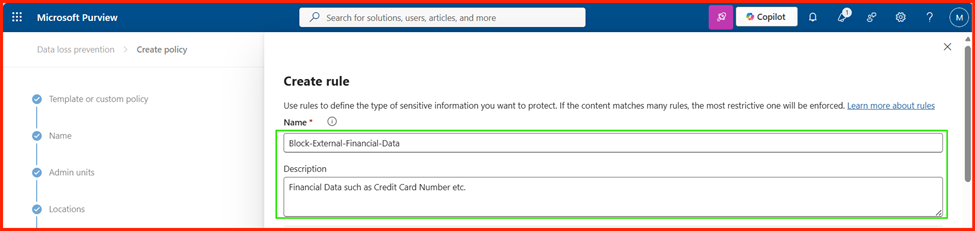
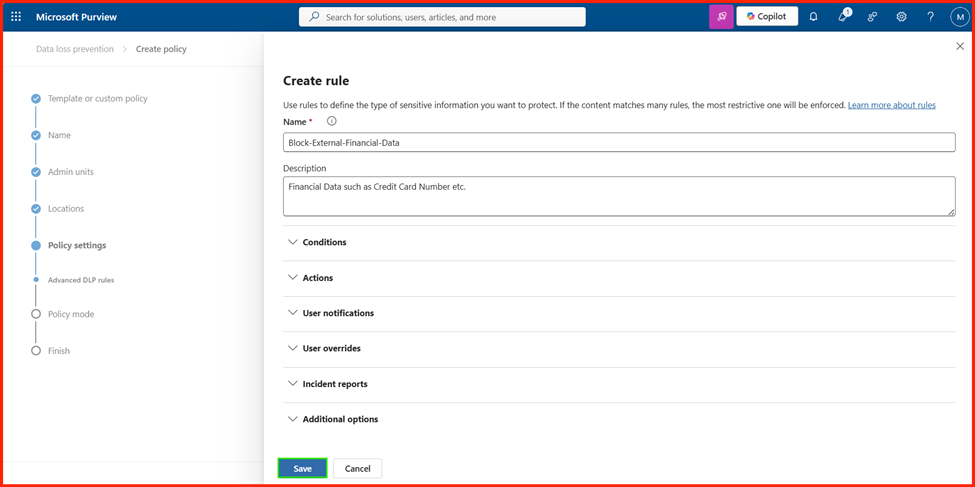
Click + Create rule inside your new policy and configure the precise triggers below:
| Configuration Section | Field Setting | Technical Action |
| Name | Block-External-Financial-Data | Identifies the rule in log environments. |
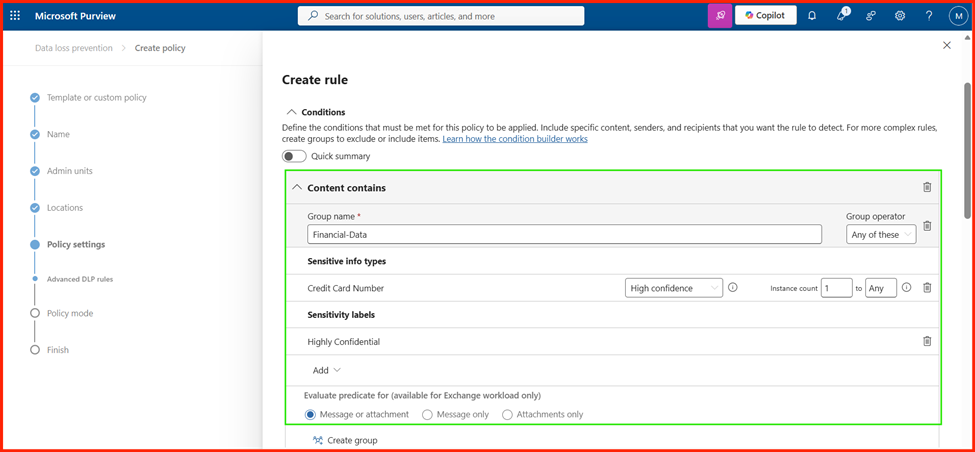
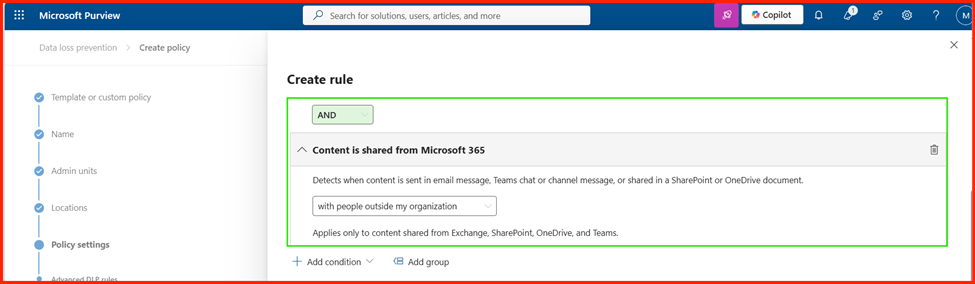
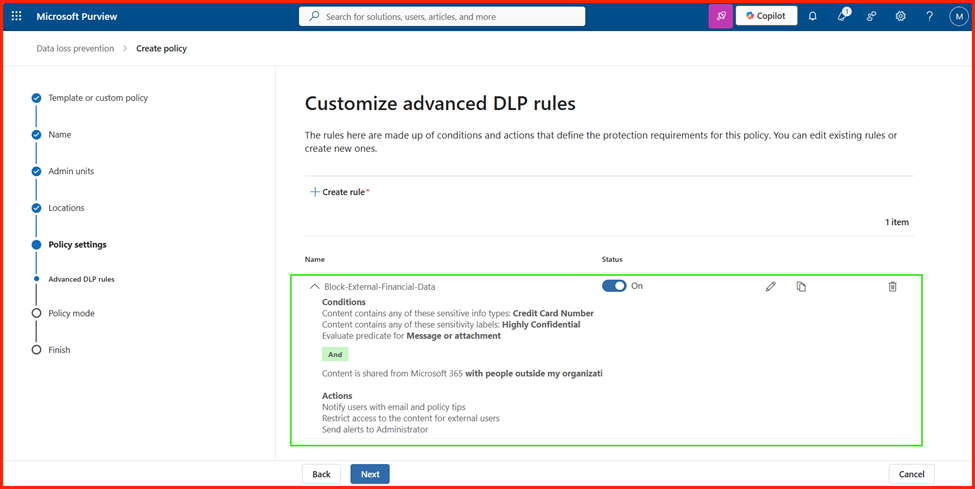
| Conditions | Content contains: • Sensitive info types: Credit Card Number• Sensitivity labels: Highly ConfidentialAND Content is shared from M365: • With people outside my organization | This establishes an AND logical gate. The policy triggers only if the targeted sensitive types or labels are detected and the recipient is external. |
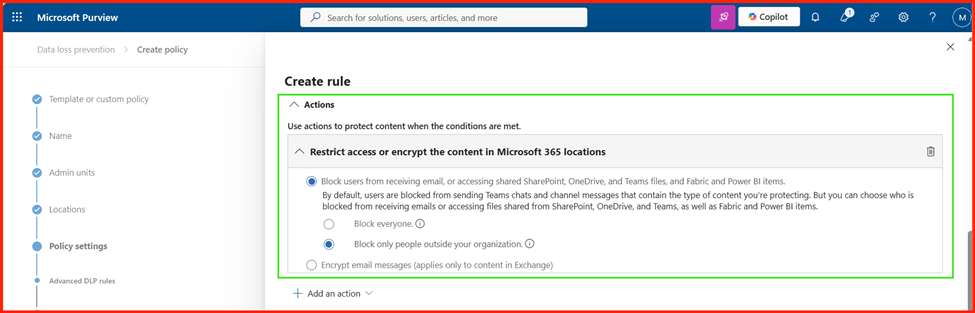
| Actions | Restrict access or encrypt content in M365 locations | Select Block only people outside your organization. The internal transport routing drops the message entirely. |
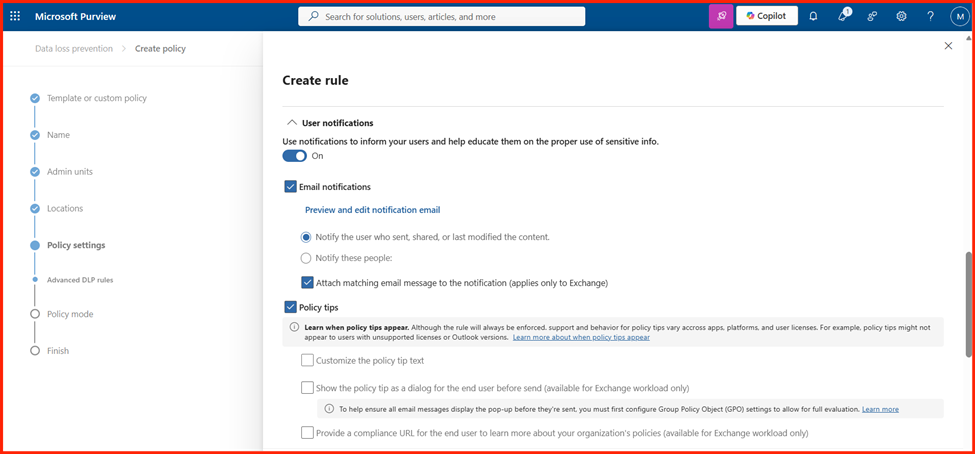
| User Notifications | Turn on notifications for users with a policy tip | Check Notify the user who sent, shared, or last modified the content. This activates real-time educational banners inside Outlook. |
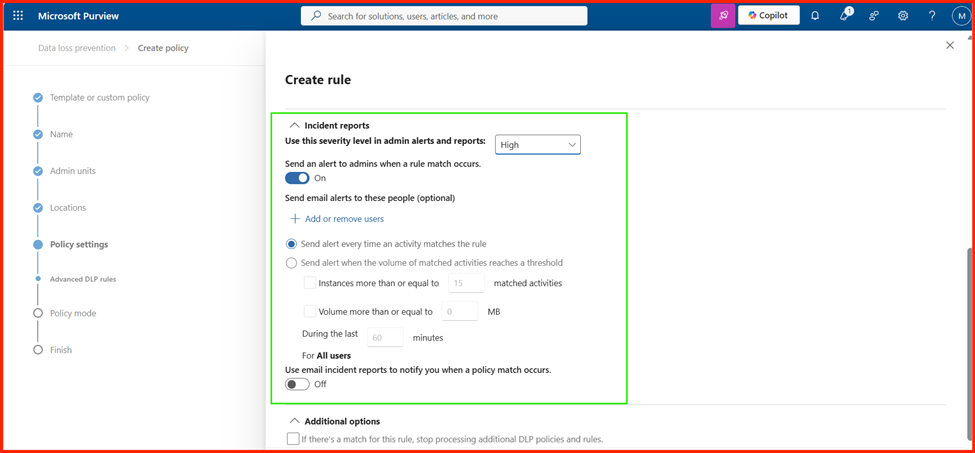
| Incident Reports | Send an alert to admins when a rule match occurs | Set the threshold to Single event (1) and assign the severity to High. |
Step-by-Step Testing & Demonstration
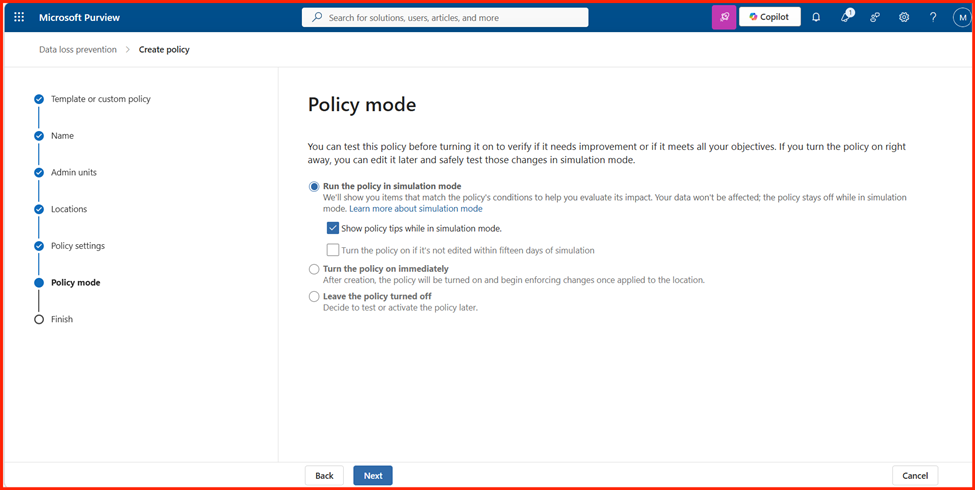
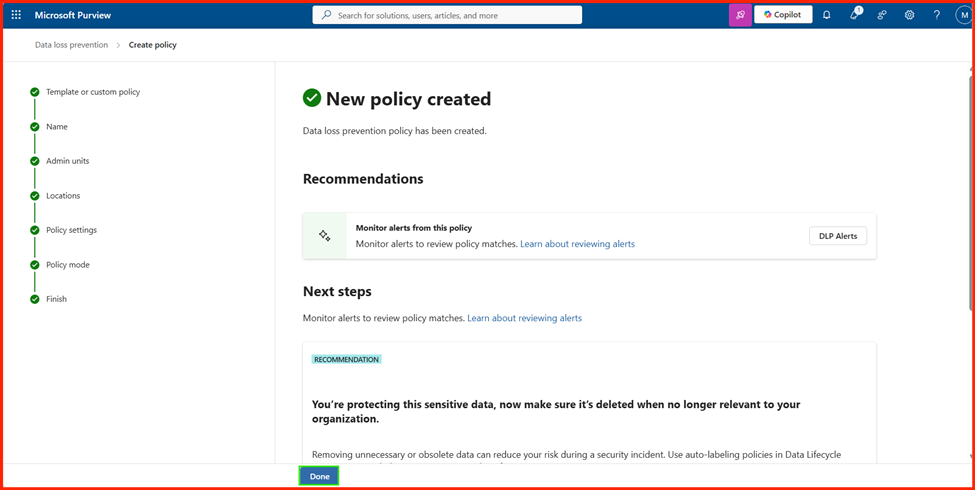
Once you save the policy, select Run the policy in simulation mode and show policy tips.
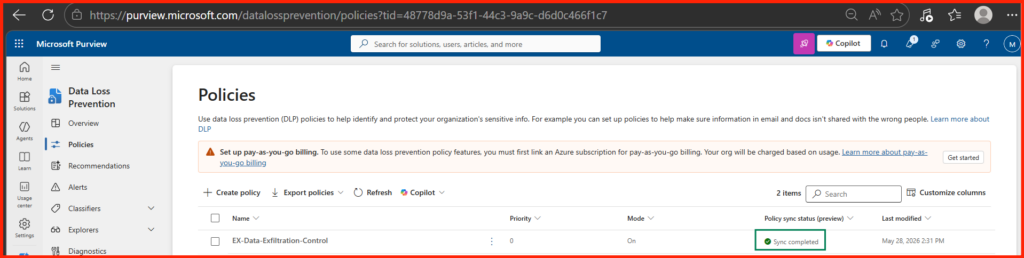
Note on Replication: Allow roughly 15 to 30 minutes for a brand new Exchange policy to fully replicate across Microsoft’s globally distributed transport servers before testing.
Test 1: Evaluating the Proactive Policy Tip (Outlook Client)
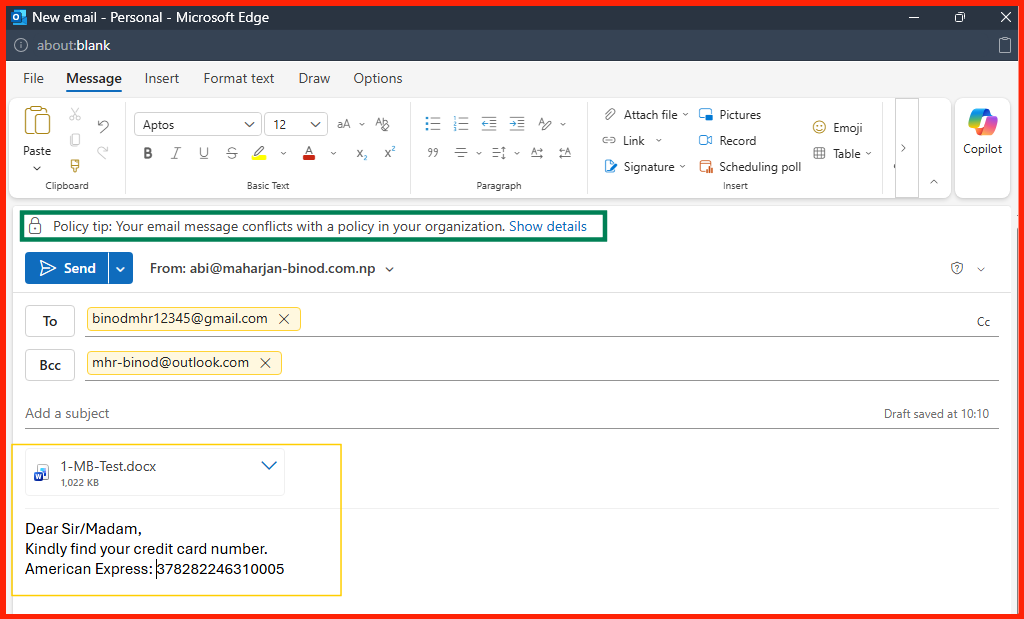
- Open the Outlook Desktop App or Outlook on the Web signed in as an internal employee.
- Click New Email and enter a personal, external email address (e.g., a Gmail or Yahoo account) in the To field.
- Attach a test document containing a valid credit card format or apply the corporate
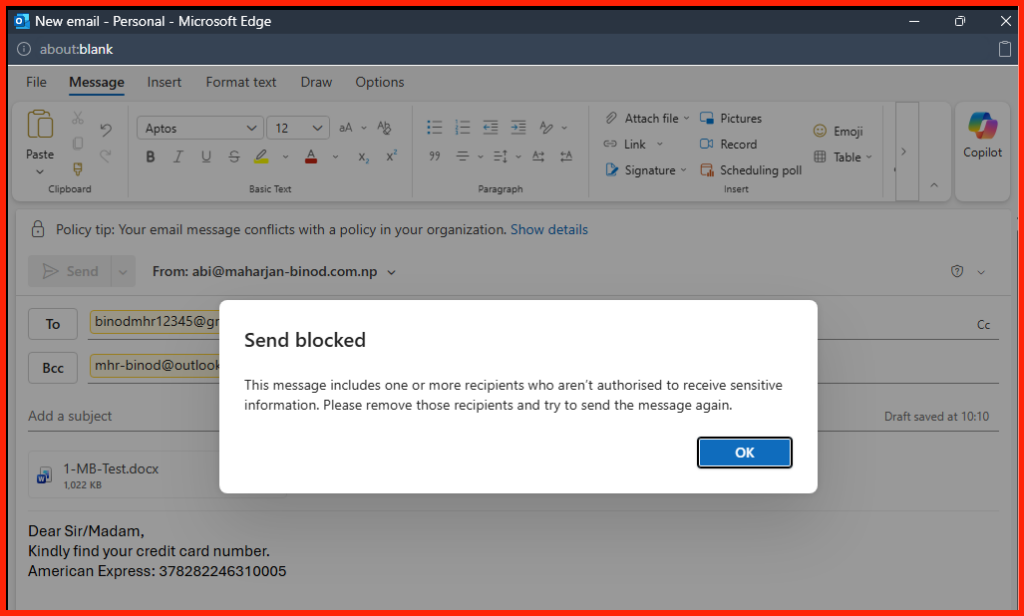
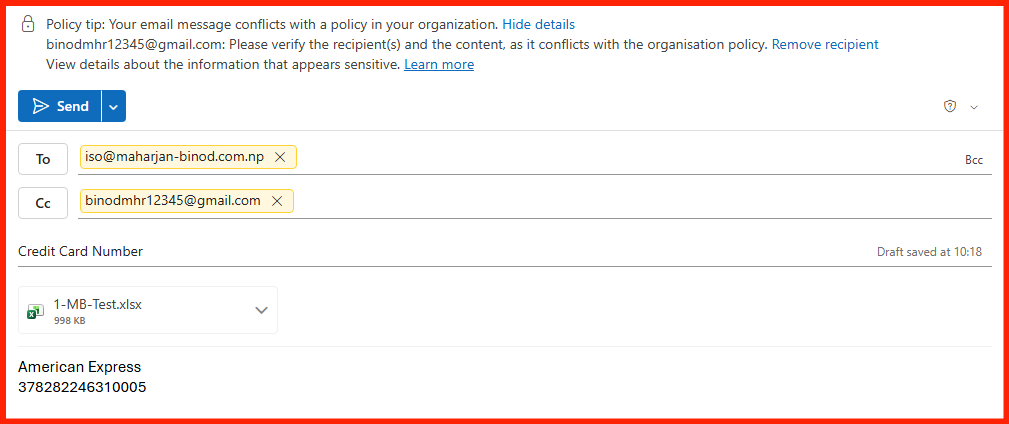
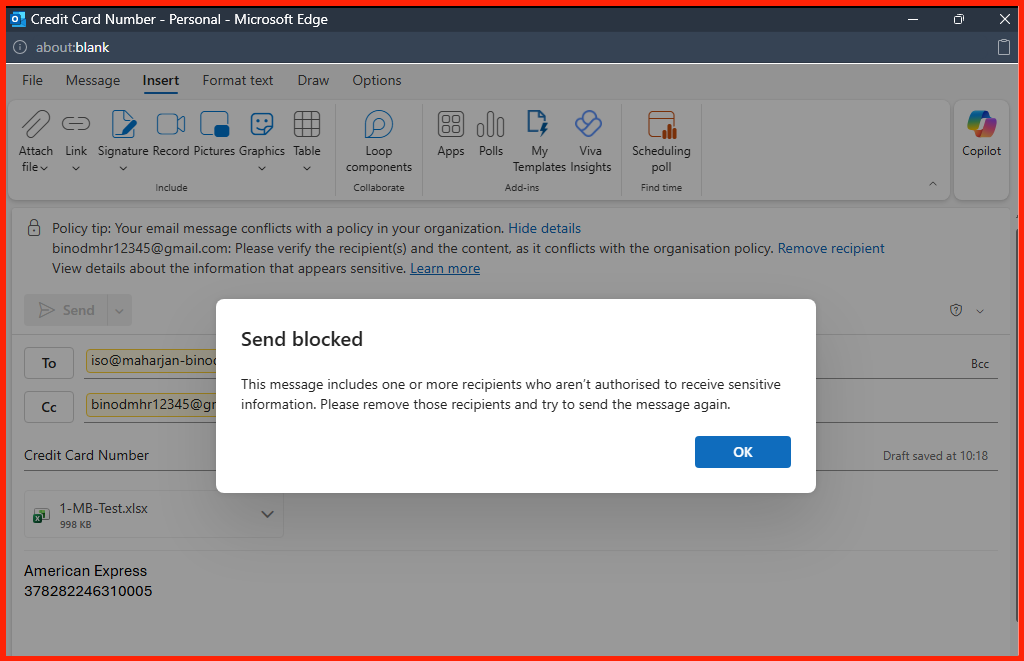
Highly Confidentialsensitivity label to the email. - The Result: Within a couple of seconds, a native Policy Tip banner dynamically drops from the top of the message composition screen. It warns the user that their message contains restricted company records and advises them to remove the attachment before proceeding.
Scope Limitation: This specific DLP configuration is restricted to the Exchange workload. It does not scan or restrict data transmission if sensitive credit card information is shared via SharePoint or OneDrive cloud links.
Next Use Case Scenarios:
Scenario 1: Securing Financial Data and Sensitivity Labels
Scenario 2: Neutralizing Hidden Risks in Encrypted & Compressed Files